|
The Genesis3 is a curious animal. Not counting freaky Brazilian TecToy models it's the last official 16-bit console from Sega, released in North America by Majesco. It's a stripped down system, lacking the expansion port present on the other Genesis units, meaning it can never be used to play CD games. It is also lacking RGB output, and apparently some versions have no stereo sound output. It has advantages, however, assuming you don't mind being without CD capability: it is very tiny, and can be easily modded to be as good or better than the other 16-bit units. RGB, S-video and territory control are trivial to implement if you have the ability to solder. All of these mods are very easy, anyone who can solder without putting out their eye can probably do these mods!
|
| Theory
|
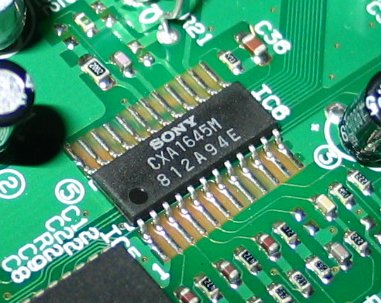
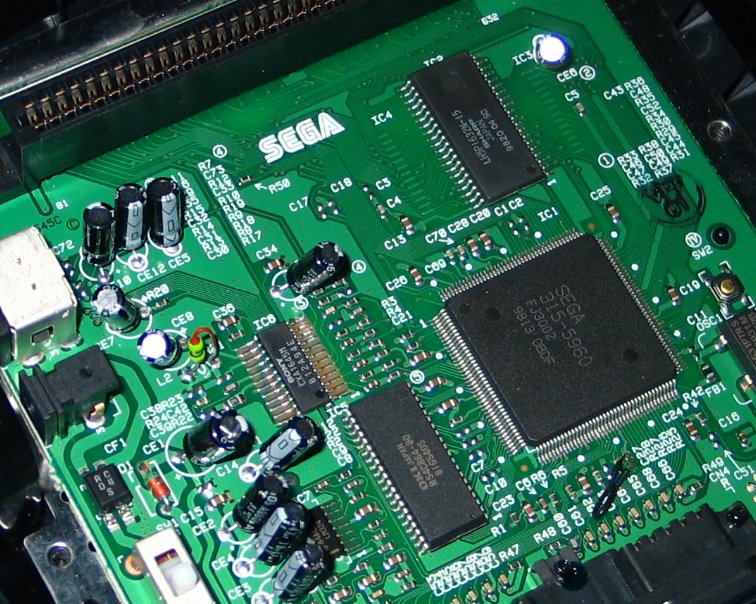
The Sony CXA1645 chip (.pdf here) is a much better part than the CXA1135 found in the other Genesis units (as well as the Master System + NeoGeo). It has real S-video output, which the 1135 does not have. To get S-video all you need are two 75 Ohm resistors and two 220uf capacitors. For RGB output you need three of each. Obviously if you want both RGB + S-Video you should have five resistors and five capacitors. As far as I know both revisions of the Gen3 motherboard have the CXA1645, but please don't whine at me if your PCB doesn't look like this one or if the chroma encoder doesn't look like this one:
The following diagram shows how to connect the resistor and capacitor. The arrow is the signal output. The negative leg of the capacitor is marked with a black stripe on the barrel, the positive leg has no mark.
Connect the capacitor to the resistor as shown
If you're not sure which pin is which on the CXA1645, refer please to the following handy diagram. The marks always indicate pin one:
This is how all chips are numbered
|
| S-Video
|
Connect one Resistor+Capacitor pair to each of the CXA1645 Y/C outputs on pins 15 + 16 to an S-video connector, or if you don't intend to use RGB, you could use the RGB pins on the existing Gen3 AV connector (which has the same pinout as the Genesis 2, 32X and CDX AV port). In case you're not sure, Y = Luma and C = Chroma. Y is the internationally accepted abbreviation for brightness or luminance, and yes it's the same Y in component video (Y/Pr/Pb and Y/Cr/Cb).
Connect the output of each capacitor to the proper pin on your S-Video connector. Don't worry about getting them backwards, you won't hurt anything and you can change it later.
Pins 15 + 16 are Y + C out
|
|
RGB
|
This is the same idea. Connect one Resistor+Capacitor combo to each of the pins: 23, 22 and 21 (Red, Green + Blue respectively) and run the capacitor output to the RGB lines on the Multi-AV connector. The pinout for the AV connector is right here. This mod is identical to the RGB mod posted for the Hitachi HiSaturn Navi, check that page for pictures.

Pins 23, 22 + 21 are R, G + B out
|
| Wrapping Up
|
That's it, you're done. Super simple mods for this great little system. I didn't cover the output part of the mods because there's a thousand different ways to hook them up, and I'm not here to hold your hand. You've got the keys, go do something marvelous. Please check our happy forums if you'd like to discuss this mod.
|
|
|
